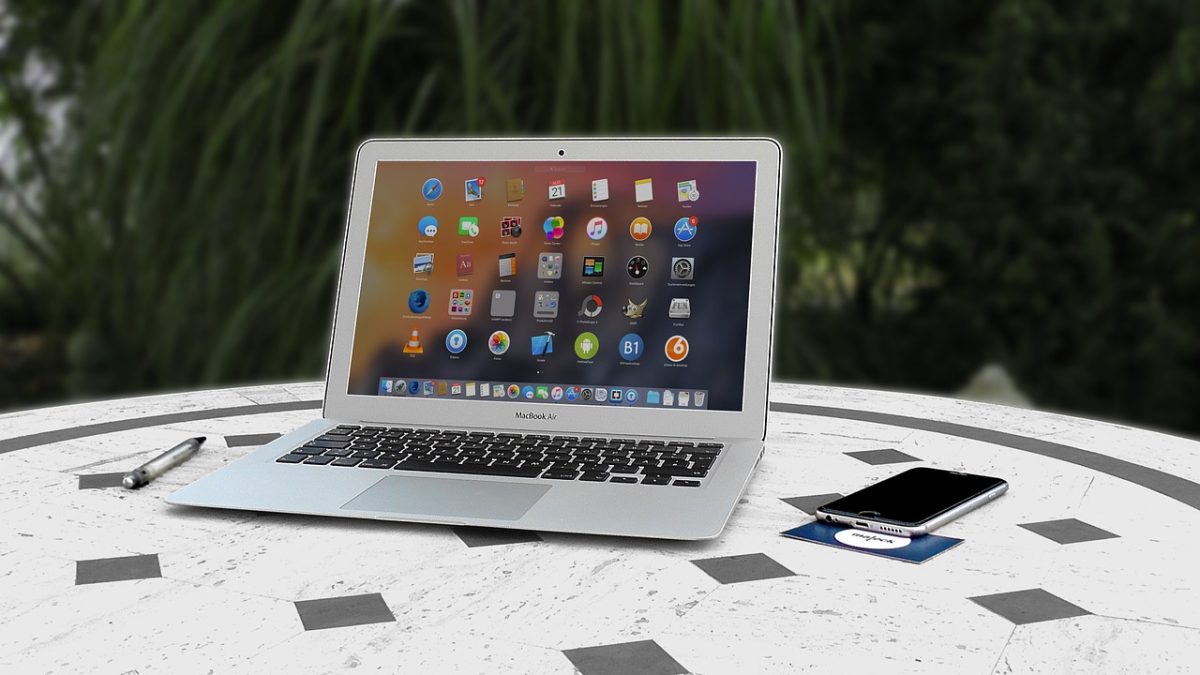
How To Clean Other Storage On Mac

If you are wondering how to remove junk files and make some storage space on your Mac, then this article will provide you with some of the best methods to do so.
As we all have limited storage space in our PCs, it eventually gets filled up. Unfortunately, when you use up more space on your Mac, it can also slow the whole thing down. In these cases, we don’t have a choice, and we either delete our important files or purchase a new storage device.
However, there is more we can do. With the help of some inbuilt tools and third-party programs like duplicate photo finder for mac, we can keep our PC clean. This article will provide you with some easy tips to enhance your Mac’s performance and free up some space.
Different Techniques That You Can Follow To Clean Storage On Mac
It’s always a good idea to learn about both automated and manual tools. But if you don’t want to spend a lot of time manually finding and cleaning up things, you can use free Mac cleaner apps to make this job much easier. So, let’s look at all the ways and get your Mac PC cleaned up as soon as possible.
Method1: Empty Your The Trash Cans
On a Mac, the Trash works just like the Recycle Bin on Windows. Instead of deleting files permanently from the Finder, they are moved to the Trash, where you can get them back if you change your mind. You’ll have to empty your Trash to get rid of these files for good and free up the space they take up. But Macs can have more than one trash, so you may need to empty more than one.
First, we are going to show you how to empty the trash can present on the Dock. To do that you need to right-click on the Trash Can icon, then select the Empty Trash option in the list. This will delete all the files present in that Trash Can permanently.
For the second one, we need to empty the Trash Cans of mail, iMovie, and iPhoto. These trash cans collect files that were deleted while using these programs. To do this, Open one of these apps, then right-click on the Trash option on the left-hand side panel. Now, select the Empty Trash option to delete all the files that were in the Trash.
Method2: Free Up Some Space By Transferring It To iCloud
It does not matter how much space you have, you always need more. To optimize and manage your data, Apple has built-in Storage Management tools like iCloud. To use them, follow these steps:
Step1: Open the Apple Menu
Step2: Click on the System Preferences option
Step3: In system preferences, click on the Apple ID
Step4: Then, click on iCloud. Ensure that your iCloud Drive is ON
Step5: In iCloud Drive, click on Options
Step6: Over there, Select Desktop & Documents Folders and click on Done.
Note: As long as you have a free plan, you can store up to 5 GB of data on iCloud. And if you want to increase the storage space, you can buy different plans for 50 GB, 200 GB, or 2 TB.
Method3: Delete Unwanted Programs Or Applications
When you use your computer for a long time, the apps on it take up more and more space. They make cache and temporary files to give you a better user experience. However, with time these files will get larger and take most of your Mac PC’s resources. So it is for the best to remove them, here’s how to do it.
Remove Apps Using Finder
Step1: Open the Finder folder and then select the Applications option from the left-hand side panel
Step2: Select any useless app and using the drag and drop feature drop those apps in the Trash
Step3: To remove these files permanently, empty the trash
Remove Apps Using Launchpad
Step1: Click to open the Launchpad
Step2: Select and then hold any unwanted app until it starts shaking
Step3: Click on the Cross sign (X) on top of the app icon to delete that app
Using these methods you will be able to free up some more space.
Wrapping Up
The above write-up should resolve your question, How to free up space on your Mac. We hope you no longer have problems with storage space on your device. However, if you like the post above, write your feedback in the comment section. We would love to hear what you think about this post.
Also Read: The Importance of Network Security in this Digital Age


